

Advanced Mode User Guide
Getting to know the Atlas Interface
In the next couple of screenshots we will show you how to operate the Atlas interface, switch between perspectives, learn to use tabs, etc.
Home screen
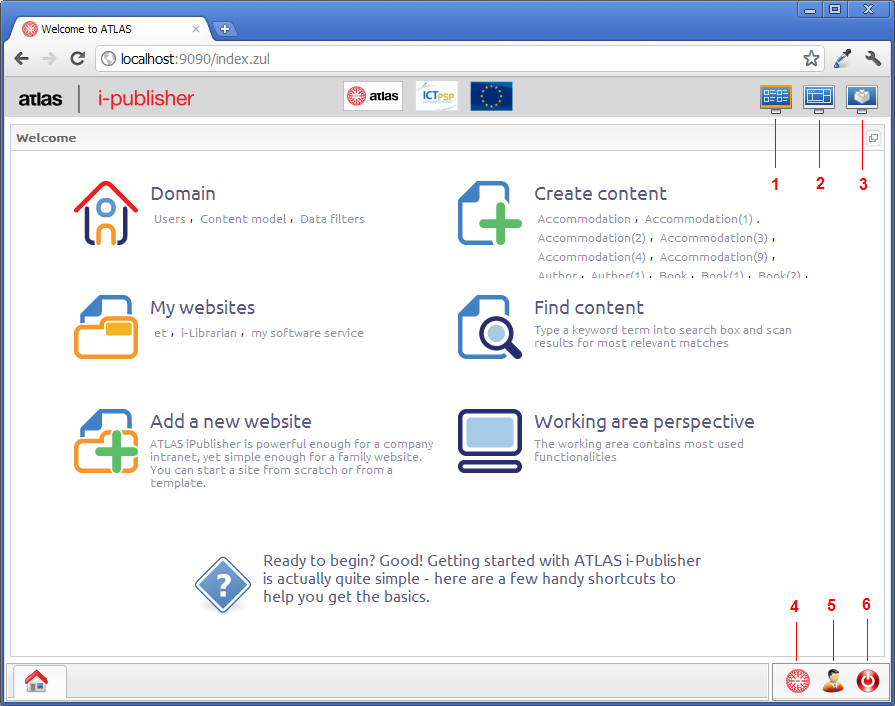
The picture you see above is i-Publisher's home screen. Marked as 1,2 and 3 are the three different perspectives that you can select for your home screen. These perspectives separate i-Publisher in three main parts – Home (1) , Content Management (2) and Domain Management (3). The Home perspective, as can be seen in the picture above, lists the most commonly used features of i-Publisher. Under the Domain quick access section you can quickly create a new system user, view your Content model or add a new Data filter. The Create content section grants you quick access to the most commonly used content types, enabling you to create more content items of each. Listed under My websites are the websites that you have created in your system. The other three sections are the Search section, the Add a new website button and the Working area (or Domain) perspective.
Button (4) switches you to i-Publisher simple mode, button (5) opens your profile, enabling you to change your details, password, etc., and button (6) logs you out of i-Publisher.
Using Modules and Tabs to Personalize i-Publisher
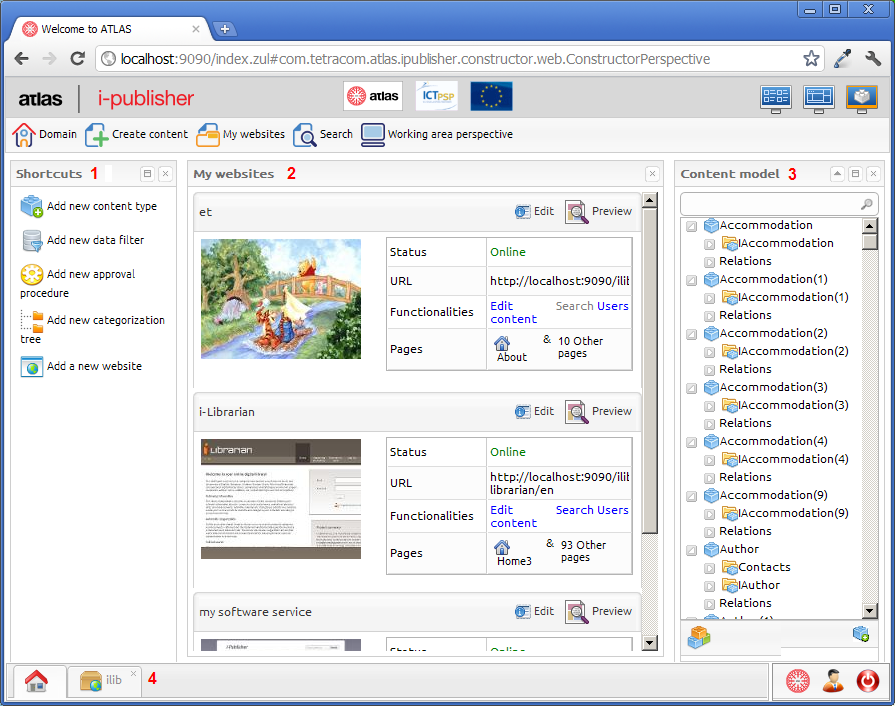
This is the Core domain area (also called the Working Area perspective). At the moment, three modules are open – the Shortcuts module (1), the My websites module (2) and the Content model module (3). You can reorder modules by clicking on any of them and dragging it to the position you want it to be in. Closing a module is done by clicking on the cross button in the top right corner of each module.
In the section underneath (4) you can also see that a tab is open. Tabs are the main form of navigation within i-Publisher, enabling you to switch between screens without having to lose progress on a new content type, web-site, navigation, etc. Switching between tabs is done by clicking on them. Closing tabs is done the same way as closing modules – click on the cross button in the top right corner of each tab.
Clicking on the 'House' button in the bottom left corner will take you back to the home screen of the perspective you were using last.
Using lists and details to visualize content
The i-Publisher advanced mode user interface consists of editors, which can be divided into two main groups – list and details.
Lists concept
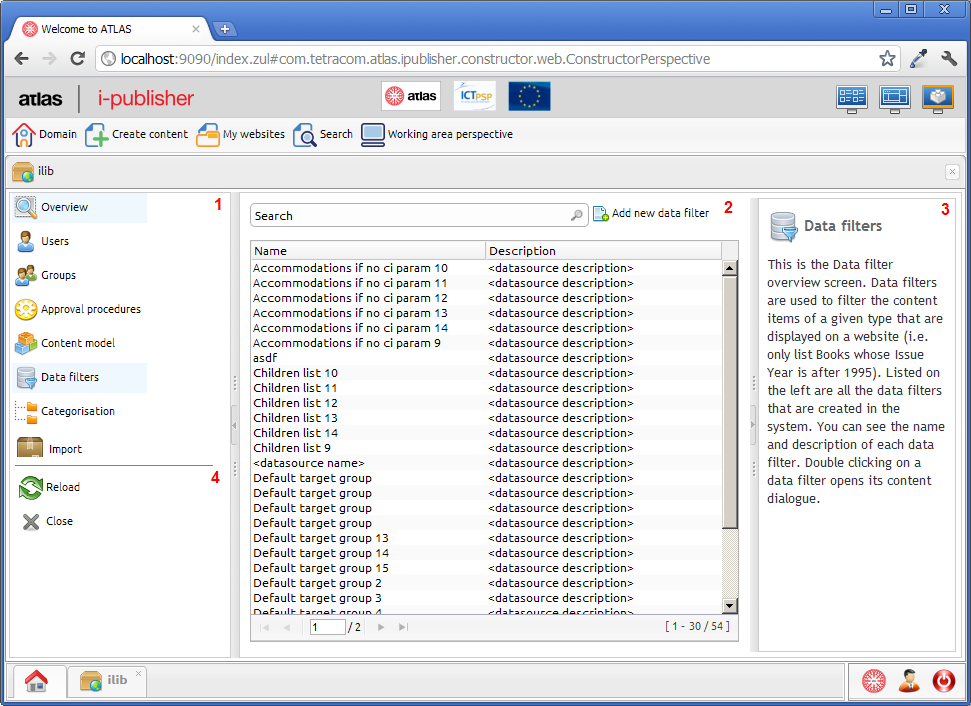
These are the main areas, which represent a list view in i-Publisher advanced mode – a set of vertical tabs, describing the functionalities in the given area(1); a list(2), which is opened when a tab is clicked. The list consists of a quick search field, an “Add new” item button to add new entities and the list itself. Each list also has a hints area(3), where the functionality is described in detail. When double clicking on an item in the list you go to the details view, which is depicted in the next paragraph. In the left bottom corner are the actions (4) , which can be applied to the editor. These actions are:
- Reload – reloads the list of items
- Close – closes the editor
Details concept
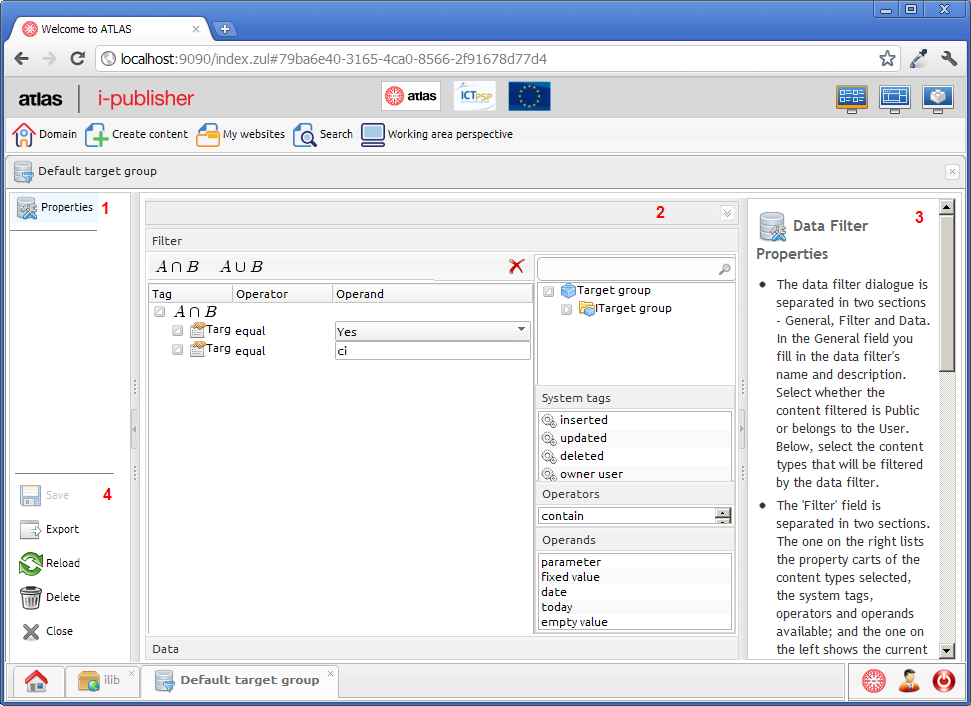
The details editor focuses on the properties of a specific entity. It has a similar structure to the list – a set of vertical tabs(1), which show the various options to be configured for the entity; a details area(2) where the specific properties are configured. The hints area(3) explains how to use the details and in the bottom left corner there are the actions(4), which can be applied to the entity. These actions are:
- Save - save the entity to the database. Disabled when the entity is not changed.
- Export – export the entity(depicted later in the document)
- Reload - reload the entity to its database state
- Delete – deletes the entity from the database
- Close – closes the editor
ATLAS (Applied Technology for Language-Aided CMS) is a project funded by the European Commission under the CIP ICT Policy Support Programme.